Classic waxes rank in two categories, sticks or klisters. Sticks are designed for fresh snow conditions, for snow that hasn't transformed yet. Klister has to be used on transformed snow above or below freezing temperature as soone as the snow grain is damaged and round.
View our selection of grip wax available now.

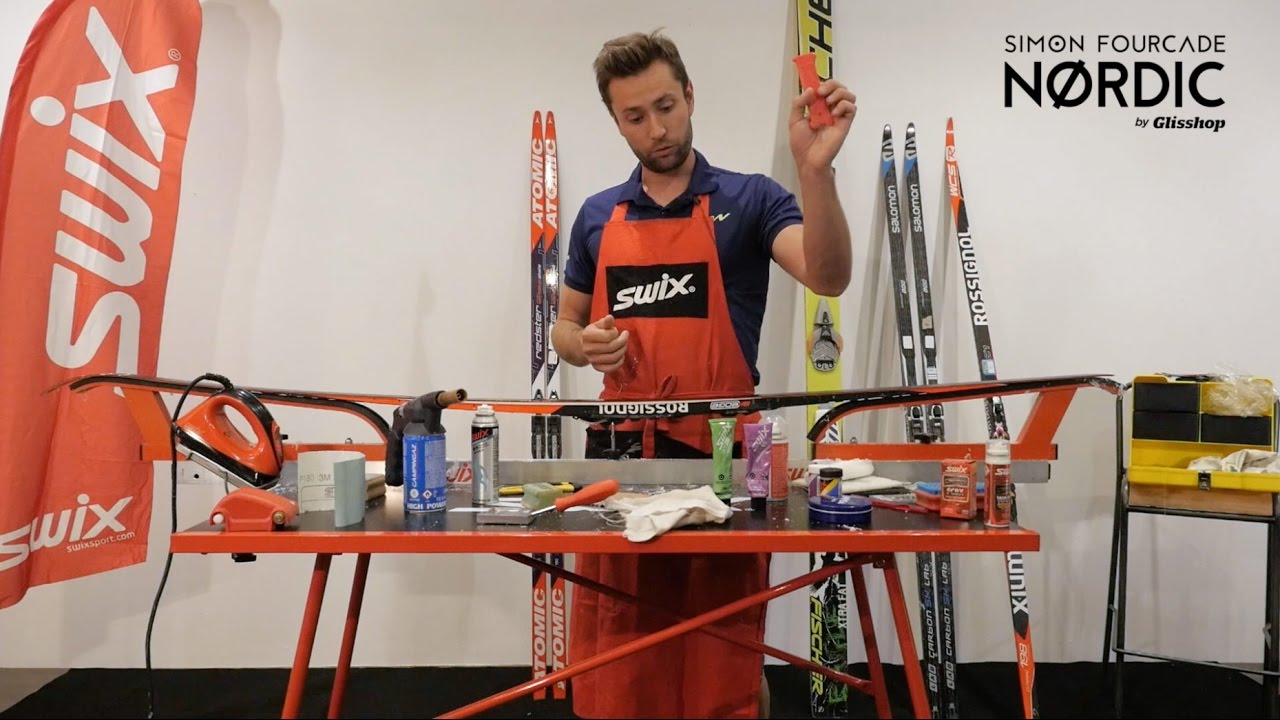
Preparing the ski
Before applying the wax on the grip zone of the base, this one has to be defined and prepared. The preparation is quite simple, once the section determined you need to sand it with a 120 grain sandpaper in a circular pattern on each side of the groove.
The process allows to efficiently prepare the base to receive and retain the wax for the entire session or race. Without this step, the wax won’t be perfectly absorbed by the base and the first ten centimeters waxed might be damaged in no time and reduce the grip wax abilities.

Glisshop Tutorial : Grip zone prep
Applying stick wax
The stick wax is the simplest one to use on classic skis and it is made for the best snow conditions. Once you chose the stick, you just have to rub it from one side of the groove to the other and pay attention not to make any bumps.
For a better hold on the base, we recommend to apply first a basic grip stick on the grip section and warm it up with with the cork by rubbing it from tip to tail (stay on the grip zone)

Glisshop Tutorial : Applying stick wax
Applying Klister
The klister is not as fun and easy as the stick to apply. The first thing you need to know when you use the klister is that you must have a jar of Nivea cream nearby. Indeed, the klister sticks a lot and when you're done with it, if you don’t put some cream on, you might end up with your gloves stuck to your hands at the end of the process.
Now that you know, let's begin : Press the tube and apply the klister on a diagonal pattern on each side of the groove. After that you will have to smooth it out with the technique of your choice from the following:

Glisshop Tutorial: Klister
1st technique:
With the palm of your hand. That's the most common technique for training sessions, you simply spread out the klister by vigorously rubbing your palm from the tip to the tail. This technique is the simplest and the quickest one if your klister is not too cold.
2nd technique:
With a klister iron. You need a special iron and a portable blow torch that you will use to heat up the iron before you can apply the klister and spread it out.
3rd technique:
With a brush. This technique requires a heat gun to warm up the brush that you will use to spread out the klister.
The different kinds of grips waxes
Both sticks and klisters have different range of temperatures of use, like glide waxes, temperature ranges are even wider for grip waxes. There are also some fluorinated versions of those waxes used for racing, they reduce friction thanks to their hydrophobic properties. The best manufacturers like Rode and Swix produce a really wide range of products.
The wax box
A wax box for classic skiing has to be complete to make sure you get the right equipment for the running conditions. There are a few tricks and tips to avoid buying the whole arsenal and spending a fortune.
For the stick wax for instance, conditions to ski with it are rare as you need a clean, fresh and non transformed snow, this doesn't happen everyday. These are the basic sticks you need:
- Basic
- Blue
- Purple
- Red
And do not hesitate to mix them according to the snow conditions and humidity.
For Klisters, these should be in your set:
- Basic
- Blue
- Purple
- Red
- Multigrade
To sum it all up: A standard wax box should contain:
4 Sticks:
- Basic
- Blue
- Purple
- Red
5 Klisters:
- Basic
- Blue
- Purpler
- Red
- Multigrade
A natural and/or synthetic cork
With these waxes you should be able to tackle any snow conditions, but learning the waxing process for classic skiing is not always easy, we recommend you to try a lot of combinations and do your own tests until you find the receipe that works best for you.
Wax removing
Whether it is klister or stick wax, the technique is the same. In order to remove the wax from a classic ski, you need to scrape off the excess of wax remaining in the wax chamber with a thin scraper. When done, you need to soak a cloth with a base cleaner and rub the grip zone until it is clean. This operation takes about two minutes per ski.
Glisshop Tutorial: Grip wax removing