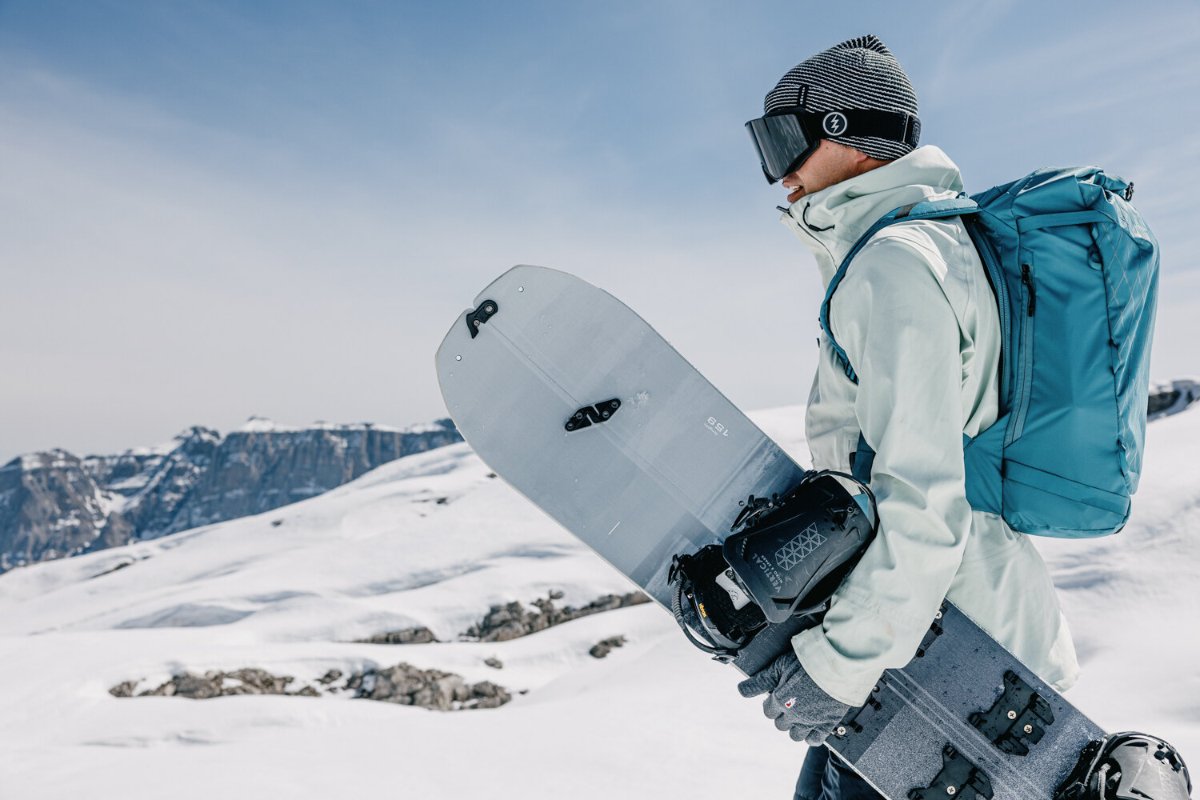
Mounting splitboard bindings is a crucial step to fully enjoy this hybrid discipline that mixes snowboarding and ski touring. Whether you’re using Union, Plum Eterlou, or Karakoram bindings, each offers unique features and advantages suited to different riding styles and skill levels. Union bindings stand out for their easy installation with a puck system, while Plum Eterlou bindings are appreciated for their lightweight design and extensive adjustability. Karakoram models, on the other hand, are renowned for their quick-lock mechanism and adjustable highback for added comfort. In this article, we’ll guide you through the installation steps and adjustments needed to set up your bindings according to your needs, along with practical tips to make the most of your gear, both for climbing and riding.

Key points
- Check and adjust the stance before any mounting to ensure the bindings are positioned optimally
- Union bindings use a puck system that is easy to install and fine-tune
- Plum Eterlou bindings stand out for their lightweight design and extensive precise adjustments
- Karakoram bindings feature a quick-lock mechanism and an adjustable highback for enhanced comfort
- In touring mode, use the heel risers and adjust the highback for improved range of motion
- In ride mode, make sure to lock the clips securely and reposition the binding onto the pucks
Union Splitboard Bindings Setup:
- Preparation:
- Determine your stance (foot position) if you’re unsure of it
- Use a screwdriver or drill
- Mounting the Baseplates:
- Screw the baseplates onto the inserts according to your stance
- Use the centring piece to align the pucks correctly
- Adjusting the Pucks:
- Use the graduated markings on the pucks to set the desired angle (e.g., 15° on the front)
- Place the pucks onto the baseplates
- Attach the pucks with long screws, but don’t fully tighten them yet
- Installing the Binding:
- Remove the binding pin
- Position the binding onto the pucks, ensuring the front is oriented correctly
- Rotate the binding to the desired angle
- Reinsert the pin
- Tighten the pucks
- Repeat the process for the other foot.
- Mounting the Climbing Parts:
- Place the risers onto the binding screws
- Screw in the risers
- Repeat the process for both feet
Binding Modes and Features:
- Climbing Mode:
- Split the board by unlocking the clips
- Place the binding in climbing mode by removing the pin, positioning it on the front axle, and reinserting the pin
- Fold the binding into place
- Adjust the high back for optimal flexibility:
- Fold down the high back for maximum mobility
- Use the heel lifts for added support on steeper slopes
- Riding Mode:
- Remove the pin to release the binding
- Reassemble the splitboard by aligning both halves and locking the clips
- Set the binding in descent mode by positioning it on the pucks, rotating it 90°, and reinserting the pin
Tips:
- Feel free to contact Glisshop’s snowboard and splitboard experts, if you have any questions
- Watch Glisshop’s other videos for more information on binding setup and adjustments

Plum Eterlou Splitboard Bindings Setup:
Mounting the High back:
- Loosen the front strap of the binding
- Place the boot in the binding and centre the high back
- Select the holes to attach the high back based on the boot’s position
- Slide the high back into the chosen holes
- Ensure the boot is well-centred and secure in the binding
- Adjust the strap if needed
Mounting the Binding on the Board:
- Insert the pieces that will go into the board’s inserts
- Measure the stance (distance between the bindings)
- Secure the pieces to the inserts using screws and small guide pieces
- Adjust the binding angle using the markings on the pieces
- Attach the triangular pieces that will align with the binding
- Place the binding onto the triangular pieces and close it
- Adjust the binding’s centring and tension
- Tighten the binding screws
- Test the binding by opening and closing it to ensure proper function
Mounting the Heel Lifts and Pivot Axle:
- Remove the bindings
- Insert the axle into the holes in the middle of the board
- Secure the axle
- Place the heel lifts in their designated positions
- Secure the heel lifts to the board
- Lower the heel lifts
Binding Function in Climbing Mode:
- Open the binding
- Position the binding on the front piece
- Lock the binding
- Use an additional riser if necessary
- Lock the binding in ski mode for short descents
Binding Function in Riding Mode:
- Release the binding
- Place the binding onto the rear pegs
- Lock the binding

Karakoram Bindings:
- Three models available: Grizzly (entry-level), Free Ranger (stiffer), and Nomad (high-end)
- Simple and reliable operation
- Open and close mechanism via a rear lever
- Quick and easy transition from climbing to riding
- Adjustable high back for greater range of motion on flat sections
Binding Setup:
- Check and set your stance before mounting
- The binding is pre-assembled; simply release and set the desired angle
- Engage the binding onto the board inserts by positioning the front first, followed by the back
- Lock the rear lever and tighten the screws (do not loosen the four outer screws)
- For the climbing setup: screw the heel lift to the rear and the front part onto the board insert
