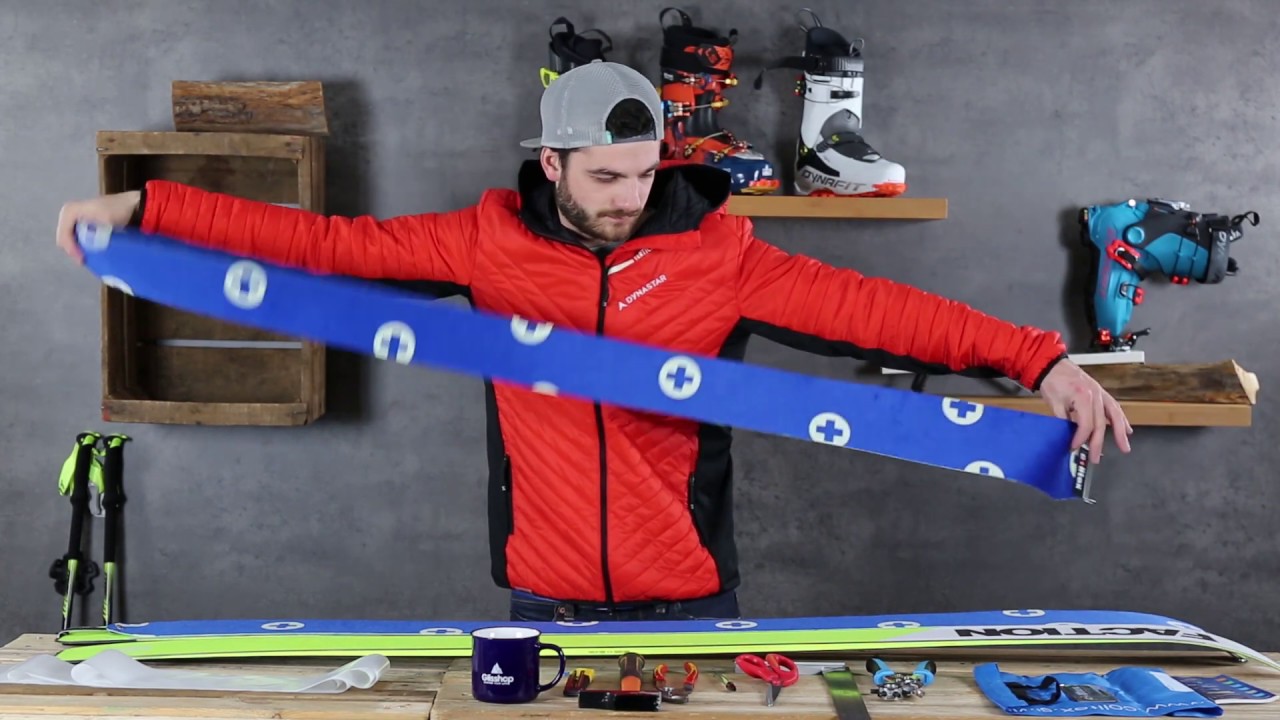
Baptiste, our expert ski tourer, shows you how to trim your touring skins. Trimming your skins is pretty easy but it requires time and equipment if you want a proper outcome.
Before you make the cut, prepare the following tools:
- a sturdy pair of scissors
- one or more unused cutter blades (they'll be more efficient than the tool provided in the kit)
- a tool for making holes (awl and hammer, eyelet pliers, a drill with a thin bit, etc)
- a marker pen
- a clamp,
- something with a round shape (bowl, CD, coffee mug, etc),
- a tape measure
Key Takeaways
- Prepare your equipment: scissors, utility knife, pliers, fine marker, measuring tape before any trimming
- Use the ski edge as a guide for a straight and accurate cut
- When fitting the camlock, leave 6.5 cm between the ski tail and the end of the skin
- Pomoca skins are the easiest to trim thanks to their dedicated cutting tool included
- Always ensure that both ski edges remain visible after the final cut
HOW-TO: How to trim climbing skins
How to trim Colltex and Gecko skins:
Side cut:
1: Lay out the skin over the ski
Remove the protective net, attach the skin to the front tip and stick the skin on the ski. Make sure it is centered between the edges and an equal amount of skin hang from both sides.
2: Skin cut (tool needed: cutter blade) :
When the skin is in position, trim one side with the blade using the edge as a rail guide.
When you're done, you need to reposition the skin so that the trimmed side exposes about twice the edge width (about 3mm), leaving some skin to hang over the other side. Use the same method to trim the other side.
When you've trimmed both sides, recenter the skin to check your work. Make sure both edges are exposed with the base covered as much as possible.
Setting up the tail camlock:
1: Trimming the tip (tools needed: tape measure, round object, scissors, marker pen):
Place the skin 6.5cm away from the tail. With a bowl or something round, trace a semi-circle on the skin. Trim the skin following your mark with the scissors. If you feel more comfortable with the cutter blade, feel free to use it.
2: Attaching the Camlock (tools needed: marker pen, awl and hammer):
Position the camlock over the skin and mark the location of each rivet.
Use the awl to pierce the skin before inserting the rivets.
Feed the rivets in the holes and make sure the camlock is on the sticky side of the skin. Fasten the rivets (with pliers or with a hammer).
Finish (Tool needed: scissors) :
Your work is almost done. All you need to do now is to trim the front end in a tapered shape.
How to trim Pomoca skins:
We are going to show you how to trim Pomoca climbing skins. These skins are fairly easy to work with as they have the right length already and tail attachements are already installed. Just make sure to pick the right length when you buy them.
There is a specific tool provided to help you trim your skins.
Pomoca skins really are the easiest skins to trim because the only thing you'll need to do is trim the sidecuts.
To do so, remove the protective net and position your skin on your ski, centered. Use the tool provided and use the edge as a rail guide. Unlike when trimming with a cutter blade, you won't need to reposition the skin offset after trimming one side. The tool does all the work for you. Repeat on the other edge and you're done.
If you want to trim with a cutter blade, use the following method:
1: Position the skin over the ski:
Remove the net, attach the front end to the tip and stick the skin on the ski, making sure it is centered.
2: Trim the skin (tool needed: cutter blade):
When the skin is in position, trim one side with the blade using the edge as a rail guide.
When you're done, you need to reposition the skin so that the trimmed side exposes about twice the edge width (about 3mm), leaving some skin to hang over the other side. Use the same method to trim the other side.
When you've trimmed both sides, recenter the skin to check your work. Make sure both edges are exposed with the base covered as much as possible.
How to trim Black Diamond skins:
You'll need to follow the next steps if you need to trim climbing skins from the brand Black Diamond. The trimming is fairly easy but it requires time and equipment to be done properly.
Before you start, make sure you have the tools needed:
- A pair of scissors
- One (or more) unused cutter blade (more efficient than the tool provided in the kit),
- A marker pen
- Pliers
- A Phillips screwdriver
1: Installing the STS hook (tools needed: pliers, cutter, marken pen) :
- Put the hook on the stretcher by the tail, attach it and lay out the skin over the ski. Make sure it is centered, but don't stick it all the way to the tip.
- Place the tip loop over the ski and mark the spot where the skin will meet the loop. Cut the skin along this mark with a cutter blade.
- Slide the trimmed skin into the loop and make sure the screw holes stay on the glue side of the skin. - Screw the three screws.
- Break the screw tips with your pliers.
When you're done with the hook, you can jump to the next step.
2: Sidecut trimming (tool needed: cutter blade):
- Attach the tip loop and lay out the skin over the ski, make sure it is centered.
- Skin trimming (cutter blade):
When the skin is in position, trim one side with the blade using the edge as a rail guide.
When you're done, you need to reposition the skin so that the trimmed side exposes about twice the edge width (about 3mm), leaving some skin to hang over the other side. Use the same method to trim the other side.
When you've trimmed both sides, recenter the skin to check your work. Make sure both edges are exposed with the base covered as much as possible.
3: Finish (tool needed: scissors):
Your work is almost done. All you need to do now is to trim the front end in a tapered shape.